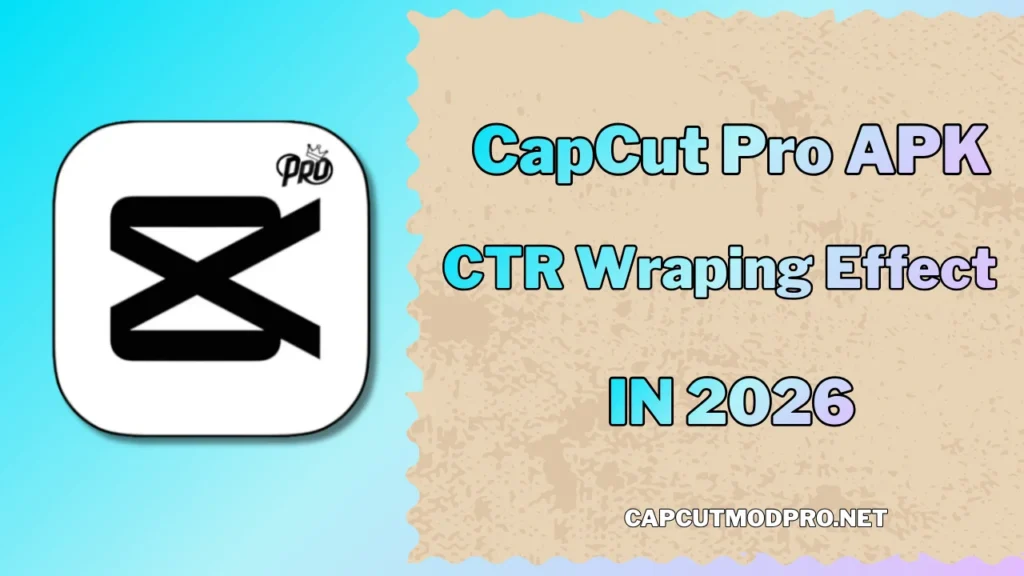
CRT Warping Effect CapCut Retro Video Editing Guide 2026
Introduction to CRT Warping Effect
In the evolving landscape of digital content creation, the allure of the analog past continues to captivate audiences. As we move through 2026, the demand for authentic retro aesthetics has skyrocketed, with the CRT warping effect standing out as a definitive stylistic choice. This effect simulates the curvature, scanlines, and chromatic imperfections of old Cathode Ray Tube (CRT) televisions, transporting viewers back to the era of VHS tapes and arcade monitors. Whether you are editing a music video, an analog horror short, or a nostalgic vlog, mastering this look is essential.
Modern editing tools have made achieving this complex look accessible to everyone. By utilizing advanced software options found in CapCut Pro APK, editors can layer distortion effects, RGB splits, and noise overlays to mimic the physical characteristics of convex glass screens. This guide will walk you through the technical process of recreating a high-fidelity CRT simulation, ensuring your content stands out in the crowded feeds of 2026. We will explore how to manipulate geometry, color channels, and temporal artifacts to craft a convincing retro masterpiece.
What Makes CRT Retro Style Trend in 2026?
The resurgence of the CRT aesthetic is not merely a fad; it is a response to the hyper-clean, ultra-high-definition visual standard of the modern web. In 2026, creators are increasingly looking for ways to add texture, grit, and “soul” to their footage. The CRT look offers a sense of tangibility that 4K and 8K footage often lacks. This trend is heavily influenced by the popularity of genres like synth-wave, cyberpunk, and the “analog horror” storytelling format, which relies on the degradation of media to induce unease and nostalgia.
Furthermore, social media algorithms have shown a preference for visually distinct content that stops the scroll. The distinct curvature and glowing phosphor look of a CRT screen immediately signal to the viewer that they are watching something stylistic and deliberate. Many mobile editors turn to Cap Cut Pro Apk to access the premium filters and adjustment tools necessary to build these effects from scratch. The ability to customize parameters like signal noise and screen tearing allows for a unique signature style that static filters cannot replicate. Understanding the psychology behind this trend helps editors make better creative decisions when applying these effects.
Preparing Your Footage for CRT Look
Before diving into effects and overlays, the foundation of your footage must mimic the broadcast standards of the late 20th century. CRT televisions did not display content in the 16:9 widescreen format standard today. To achieve authenticity, you must first adjust your aspect ratio.
Aspect Ratio and Resolution
The standard aspect ratio for CRT monitors was 4:3. In CapCut, you should start by cropping your canvas to this ratio. This immediately frames your subject in a way that feels vintage. Additionally, modern footage is often too sharp. Real CRT displays had a much lower resolution, often effectively around 480i or 240p.
To simulate this softness before applying effects, you can slightly blur your footage or export it at a lower resolution and re-import it. This technique, often referred to as “downsampling,” helps break down the perfect digital edges of modern camera sensors. If you are using CapCut Mod APK for testing various workflow efficiencies, ensure your project settings allow for custom frame resizing to lock in that 4:3 boxy aesthetic properly.
Color Grading Basics
Old camcorders and CRT displays had limited dynamic range. Before applying the warp, flatten your contrast slightly and lift the blacks. This mimics the “washed out” look of aged magnetic tape. Saturating the reds and slightly desaturating blues can also help replicate the specific color science of 1990s consumer electronics.
Adding Base Glitch & Scanline Layers
The hallmark of a CRT screen is the visible scanline structure—the horizontal lines drawn by the electron gun inside the tube. Adding these lines transforms a flat image into a projected one.
Begin by searching for “Scanline” or “TV Line” effects within the effects library. The goal is subtlety; the lines should be visible but should not obscure the footage entirely. Adjust the opacity to somewhere between 10% and 25%. In addition to scanlines, you need to introduce signal instability, often manifested as glitches.
Using the advanced features available in CapCut Mod APK can give you access to granular control over glitch intensity. Look for effects that simulate “Vertical Hold” errors or “Bad Signal” static. Unlike modern digital glitching (which looks blocky and pixelated), analog glitches are wave-like and fluid. Layer a subtle “Wave” effect over your footage to make the scanlines ripple slightly, mimicking the magnetic interference common in old TVs. This constant, rhythmic motion brings the static image to life.
Applying Warping & Distortion in CapCut
This is the most critical step in defining the CRT aesthetic. Real CRT screens are made of thick, curved glass, which distorts the image at the corners. To truly achieve the perfect CRT Warping Effect CapCut Retro, you need to curve the edges of your video inward, creating a bulbous, convex shape.
Using the Lens Distortion Tool
Navigate to the “Video Effects” tab and look for distortion or lens effects. The “Fisheye” or “Lens” effect is your primary tool here. Apply it to the main video track or an adjustment layer on top of everything.
- Strength: Keep this moderate. Too much distortion looks like a GoPro wide-angle; you want just enough to bend the straight lines near the border.
- Range: Adjust the range to focus the distortion on the periphery of the frame.
Edge Vignetting and Bordering
When the image warps, the corners of the digital frame might become empty or black. To sell the effect, you must round the corners of the video clip itself. You can do this by using a “Mask” tool. Select the “Rectangle” mask and increase the “Corner Radius” until the video has soft, rounded edges. This replicates the physical bezel of an old television set. By combining the lens distortion with rounded corners, you create the illusion of physical depth.
Customizing Color Shift & RGB Split
A cathode ray tube creates images by firing red, green, and blue electron beams. Often, these beams would become slightly misaligned, especially near the edges of the curved screen, resulting in “Chromatic Aberration” or RGB splitting.
To replicate this in CapCut Pro APK, you can use the “Chromatic” effect. However, for more control, a manual method is preferred by high-end editors:
- Duplicate your video clip twice so you have three stacked layers.
- Go to the “Adjust” settings for each layer. Using “HSL” or “Curves,” isolate the Red channel on the top clip, Green on the middle, and Blue on the bottom.
- Change the blending mode of the top two layers to “Screen” or “Add.”
- Slightly nudge the position or scale of the Red and Blue layers.
This manual separation creates a color fringe around the edges of objects, particularly in high-contrast areas. The warping effect applied earlier should naturally enhance this separation at the corners of the frame, which is physically accurate to how CRTs functioned. This attention to detail is what elevates a basic edit to a professional standard.
Adding VHS Noise & Flicker Overlays
A static CRT screen is never truly black; it is a dark grey buzzing with electromagnetic energy. To achieve this texture, you need noise.
Grain and Noise
Add a “Noise” effect from the “Retro” category. Unlike film grain, which is organic and clumpy, video noise is sharp and uniform. Adjust the intensity until the image feels textured but not muddy. If you are using Cap Cut Pro Apk, you might have access to “Smart Noise Reduction” tools—turn these off. You want the noise to be prominent.
Screen Flicker
CRT monitors refresh at 60Hz or 50Hz, which often causes a subtle strobing effect when filmed by a modern camera. You can simulate this by adding a white overlay, setting the opacity to a very low value (around 3-5%), and applying a “Flash” or “Pulse” animation set to a high speed. Alternatively, changing the brightness of the adjustment layer using keyframes to oscillate up and down slightly creates a subconscious “hum” in the video that feels authentic to the hardware.
Final Touches: Vignette & Frame Rate Adjustment
The final steps involve unifying all the layers into a cohesive visual experience. The lighting and temporal motion must match the vintage aesthetic.
Applying Heavy Vignette
CRT screens are brightest in the center and significantly darker at the edges due to the angle of the electron gun. Apply a heavy vignette effect. This draws the viewer’s eye to the center of the screen and hides any imperfections in your edge warping. The vignette should be soft but deep, simulating the thick glass casing of the monitor.
Posterizing Time (Frame Rate)
Modern video is typically 30 or 60 frames per second (fps). Old animations or degraded VHS tapes often appear to have a lower frame rate. Use the “Posterize Time” effect or manually reduce the frame rate of your export to 12fps, 15fps, or 24fps. This “choppy” motion removes the smoothness of modern digital video, making it feel more mechanical and dated. Users experimenting with CapCut Mod APK often find that combining low FPS with motion blur creates a dreamy, surreal quality typical of memory flashbacks or dream sequences.
Conclusion: Mastering Retro CRT in CapCut
Creating a convincing CRT warping effect in 2026 is about more than just slapping a filter on a video; it is about understanding the physical limitations and characteristics of analog technology. By meticulously adjusting aspect ratios, applying geometric distortion, separating RGB channels, and texturing with noise, you can transform crisp digital footage into a nostalgic artifact.
Whether you are utilizing the standard version or exploring the capabilities of CapCut Pro APK, the tools required to execute this style are at your fingertips. The trend shows no sign of slowing down, as the yearning for the tactile, imperfect feel of the past continues to influence digital art. Remember to experiment with the intensity of your scanlines and the curvature of your warp—subtlety often yields the most realistic results. As you refine your technique using tools like Cap Cut Pro Apk, you will develop a signature retro style that resonates with audiences. For those looking to push boundaries, the advanced layering features in CapCut Mod APK (referring to the advanced modification of parameters available in pro toolsets) provide the flexibility needed to craft the ultimate analog illusion.